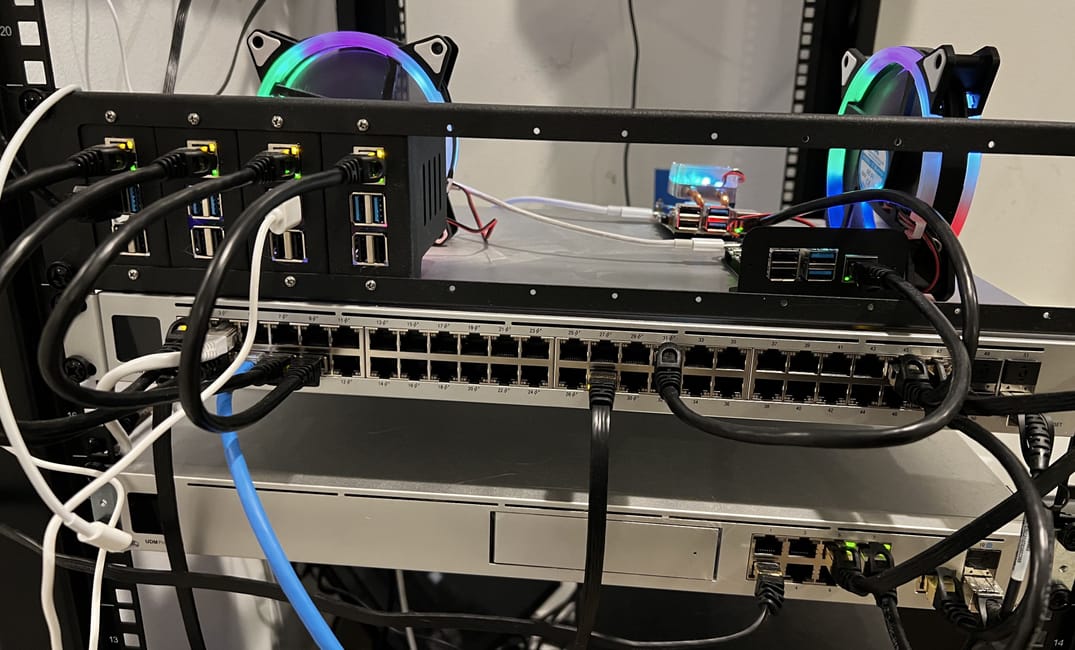
Well, it happened again. Previously my home "datacenter" (I call it that because of the craziness I have created) of Raspberry Pis and various cloud resources was a half designed, half hacked together k3s+tailscale pairing that I never got around to writing a blog post on. That broke. For reasons unknown, and essentially impossible to figure out, connectivity between pods was broken and I (at the time) was sick with COVID and wanted nothing to do with it. So, I did what any sane person would do – I ignored the problem. Shockingly, that actually worked. It solved itself after a week, and then immediately broke again. Technology, right? Months later, I found myself with the desire to get my blog working again (which is one of the services ran on that cluster) and decided to redesign this. This is the story of how I spent an entire Saturday.
My current setup for how I manage my cluster is broken down into really two parts:
- cloud-init - a repository that essentially just contains a
flash.shscript and a cloud-init file for quickly launching a Raspberry Pi into my cluster (almost automatically) - rgst - a private repository that basically only contains ArgoCD applications of what I run in my cluster (it'll be public one day! Just need to figure out how to remove credentials from it 😔)
Our former system basically just set up a machine "ready" to run k3s commands on, without doing any of the heavy lifting of actually getting it proven to be ready to run k3s (a lot of it was guess work), which the flash.sh script basically didn't work without a bunch of undocumented things being done. So, I did what anyone does when they don't want to tackle a hard problem. I procrastinated.
Procrastinating by rewriting the flash script
Ultimately all I really wanted the script to do was be safe, but along the way I came up with a quick list of "requirements":
- Should automatically select the disk, allowing the user to override it if necessary (be safe!)
- Download the right img for RPI if not, verifying that the image is correct (solves two problems: bad internet, being lazy about downloading the image)
- Make it easy to tell what output is from the script vs tools it's running
I ended up spending probably a good two hours just getting the script to work properly, but in the end I think it ended up looking pretty sweet (as well as saving me a bunch of time when I had to re-flash RPis later)
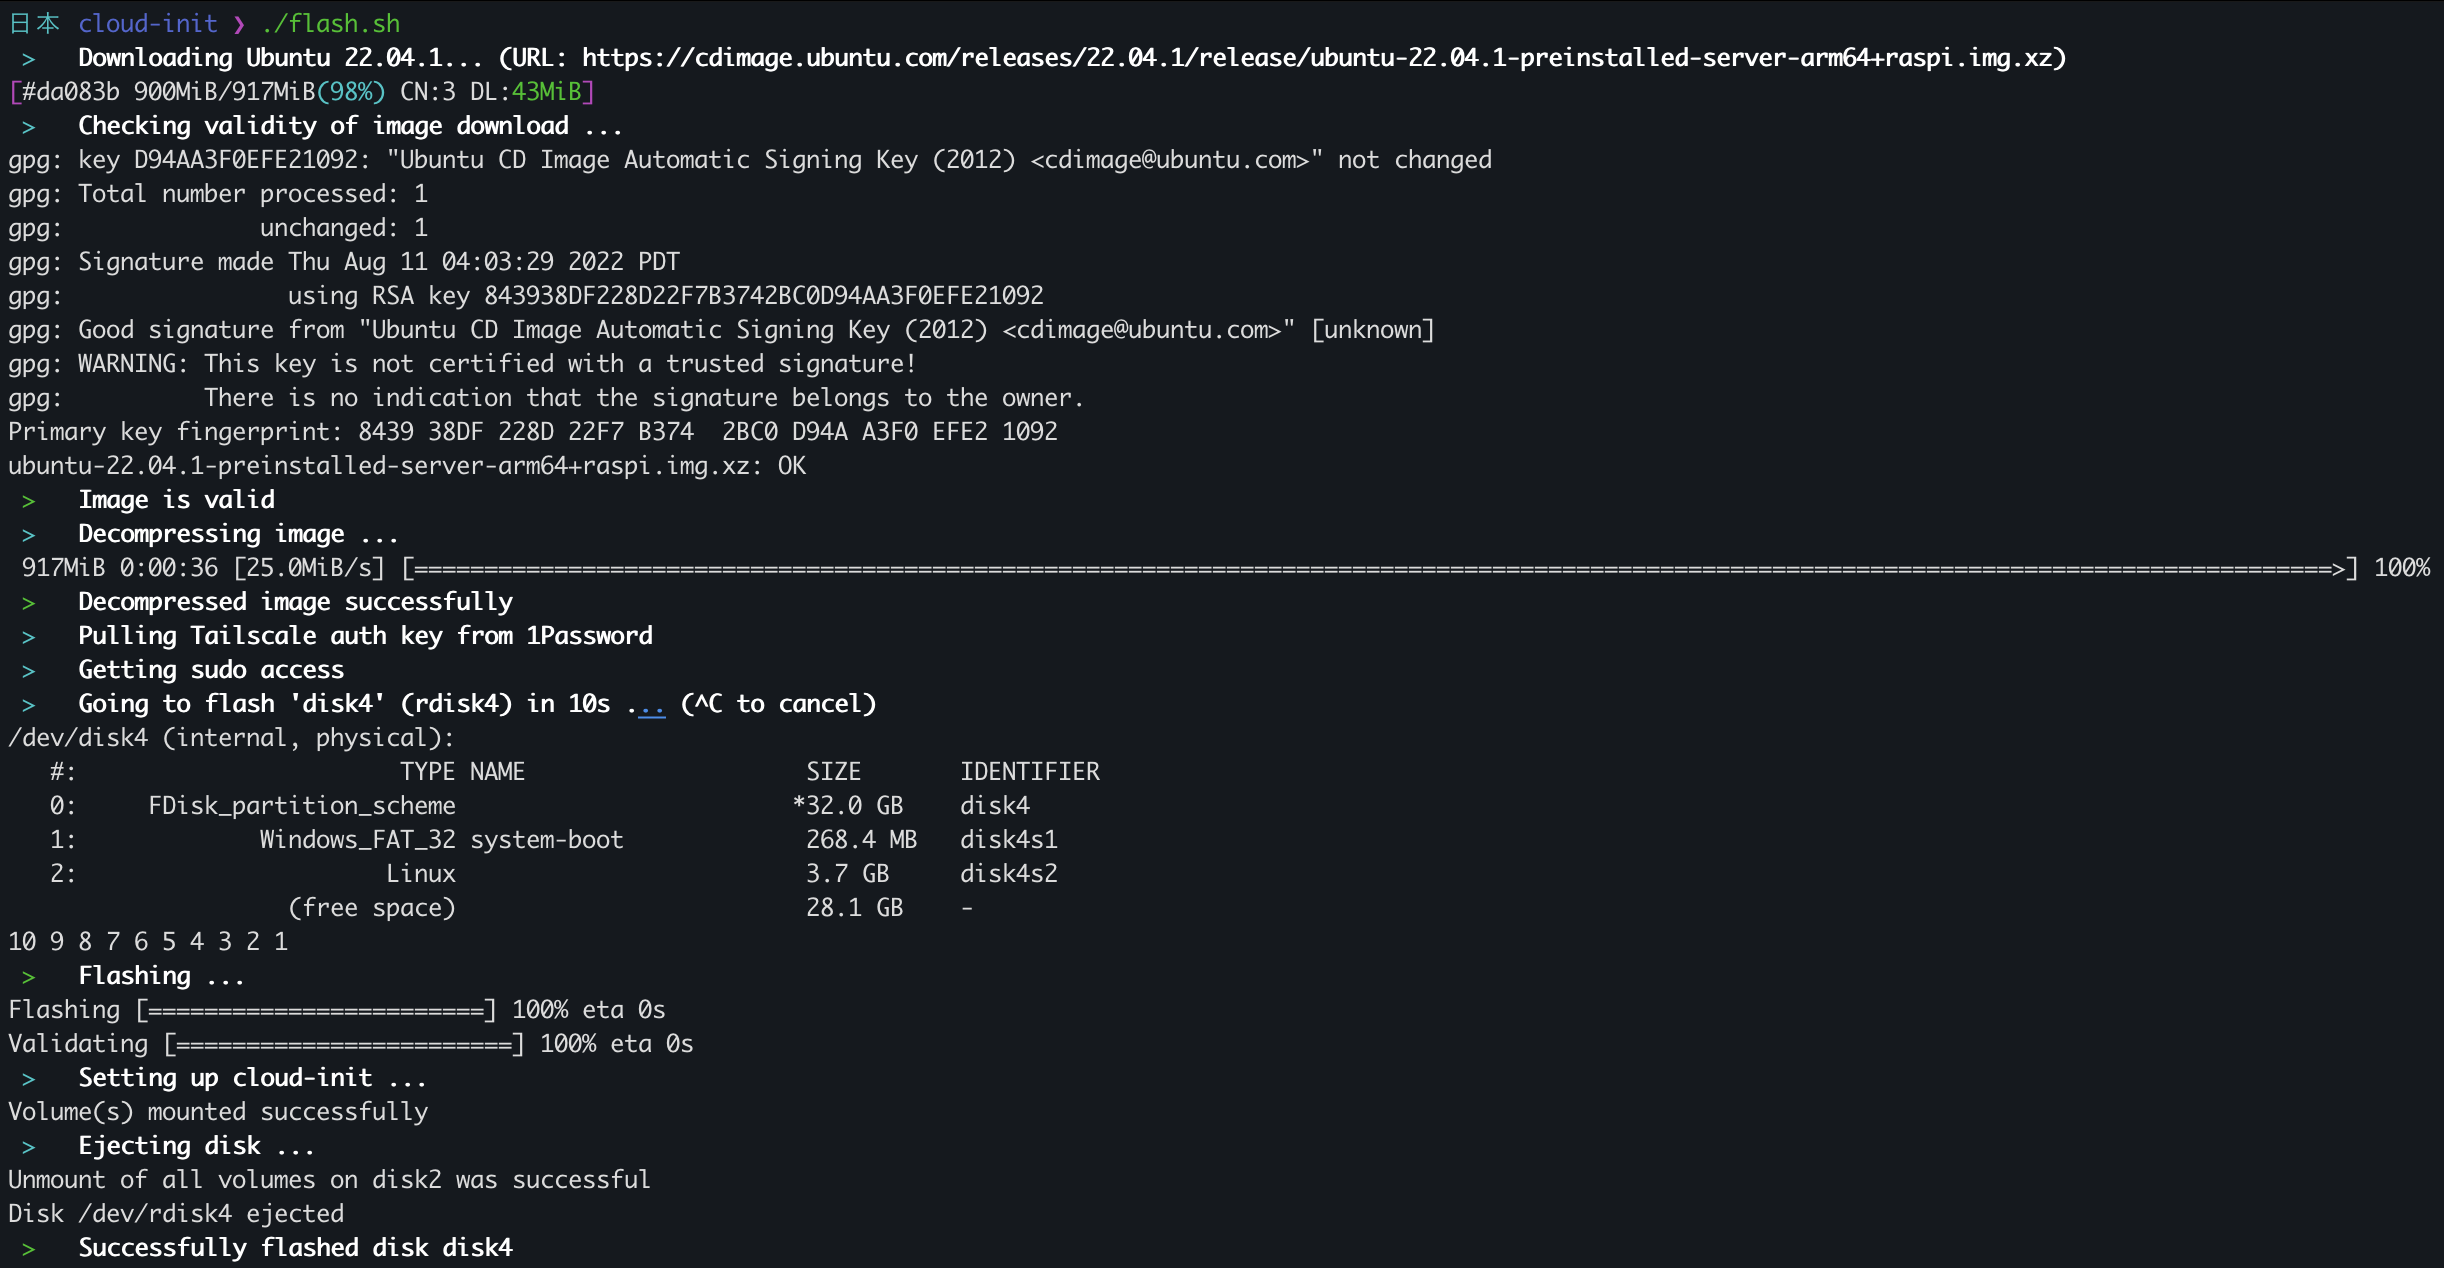
flash.sh being ran for the first timeThe script really just does the following for you:
- Downloads the IMG file for you using
aria2c(to look nice and be faster). - Checks the checksum of the file, using GPG to verify the SHA256SUMS are valid
- Decompresses the image (it's an xz file)
- Grabs a Tailscale authentication key (created here (link)), if not set, from 1Password (best password manager 👀)
- Flashes+Validates the image onto the first found external drive (waiting 10 seconds to let the user abort). This uses
balena local flashwhich is basically a CLI version of Etcher - Injects the Tailscale auth key into
cloud-config.yamland stores it on the Raspberry Pi asuser-dataso it's executed on next boot.
That's it! This was stuff I did tediously myself in the past, that's now all fully automated. Using that script I created about 6 new Raspberry Pi SDCards (I have a lot).
Picking a Kubernetes Distribution
I generally have always gone for k3s when looking at providers, but this time I wanted to evaluate other options:
- k3s
- microk8s
- kubeadm
k3s was off the table for me because I didn't like the fact that it used SQLite by default and I've generally had it explode after a year or so of being ran. Probably my fault, but I also kinda just wanted to try something new. kubeadm is the staple Kubernetes offering, but is sorta difficult to work with. I decided to go with microk8s this time, mostly because I wanted to try out Ubuntu Core (container operating system). However, I was scared about how tailscale would interact with that, so I ended up not doing that this time (I picked Ubuntu Server 22.04.1). Another project for another day 🤔
Setting up Microk8s
Now for the fun part. Creating an actual Kubernetes cluster. This actually ended up being not that bad, I created a new e2-standard instance in GCP to be the control-plane. The reason for using GCP here is that I've been burned by SDCard failure a bunch in the past, and I'm over it. Using 3 RPI nodes helps, but their disk I/O is also just terrible. Once I had that up, I used the IAM Cloud SSH functionality to shell in and basically do the following:
control-plane$ tailscale up
# Login to Tailscale
control-plane$ sudo snap install microk8s --classic
That.... was it. Somewhat annoyingly, just running the snap install command created a fresh Kubernetes cluster for me. Now here's the super super painful part. I totally messed this up a few times, but now I can save anyone reading this time: How to get a control-plane node working with Tailscale.
I ended up writing a decently bad number of one-liners to solve this problem, essentially you need to tell a few Kubernetes components which address to bind on as well as advertise. Down below are the modifications I made to each file (I added them all to the top)
# Tailscale IP, if you need it:
tailscale ip | grep 100 | head -n1

#/var/snap/microk8s/current/args/kube-proxy
--bind-address=TAILSCALE_IP_HERE

#/var/snap/microk8s/current/args/kube-scheduler
--bind-address=0.0.0.0

#/var/snap/microk8s/current/args/kube-controller-manager
--bind-address=0.0.0.0

#/var/snap/microk8s/current/args/kubelet
--address=0.0.0.0
--node-ip=TAILSCALE_IP_HERE
Troubleshooting
Here's a few notes on some things I did to troubleshoot some problems I had here:
>0% - <100% Requests to Kubernetes Api Server Succeed
This was when I accidentally created another control-plane node without realizing, and thus didn't do the kubelet changes mentioned above. This manifested as 1/2 of requests failing. I confirmed this by describing the kubernetes service and seeing that there was a private IP in the endpoints list that didn't match the Tailscale IP range:
$ kubectl describe service kubernetes
Name:              kubernetes
Namespace:         default
Labels:            component=apiserver
                   provider=kubernetes
Annotations:       <none>
Selector:          <none>
Type:              ClusterIP
IP Family Policy:  SingleStack
IP Families:       IPv4
IP:                10.152.183.1
IPs:               10.152.183.1
Port:              https  443/TCP
TargetPort:        16443/TCP
Endpoints:         100.65.60.69:16443,192.168.1.0:16443
Session Affinity:  None
Events:            <none>
Hmmmm 192, you don't belong here.
Note: This can also manifest as pods failing to create for awhile and then suddenly creating for no reason (e.g. on the calico webhook phase). Manifests as "Scheduled pod to node" but then no further status for awhile, and then eventually an error about scheduling related to calico (which uses CRDs).
kube-proxy picking 127.0.0.1 as the default address
This may not have been an actual issue, but I got this to match by making the kube-proxy changes document above.
Server "Gotchas"
For some reason microk8s doesn't ship with DNS or RBAC enabled by default, so I had to go ahead and enable that. It was easy at least:
control-plane$ microk8s enable rbac dnsSetting up the Workers
Note: This skips over some parts that are handled by my cloud-init config.
The workers, thankfully, were the easiest part of this whole ordeal (I spent a lot of time trying to debug why the control-plane node was seemingly unable to be connected to, ok, don't judge me). All you have to do is install microk8s again through sudo snap install --classic microk8s and then you can jump into getting Tailscale working with it.
In order to get a worker to work properly on tailscale, you must only update two files. These I happened to codify into a "migration" script (link). This was basically a script I ran to migrate between different cloud-init configs because you can (generally) only run those once, below are the lines to make a worker work "out of the box" from that script:
TAILSCALE_IP=$(tailscale ip | grep 100 | head -n1)
sudo sed -i "1s/^/# tailscale0\n--node-ip=${TAILSCALE_IP}\n\n/" /var/snap/microk8s/current/args/kubelet
sudo sed -i "1s/^/# tailscale0\n--bind-address=${TAILSCALE_IP}\n\n/" /var/snap/microk8s/current/args/kube-proxy
This just adds the kubelet change from earlier, and the kube-proxy one.
At this point, I was able to have the workers join the cluster! This was also, shockingly, pretty easy. I had to run microk8s add-node n times (each worker) and then take the output of it and plug it into each of the workers with microk8s join. Here's an example of how that looked:
control-plane$ microk8s add-node
From the node you wish to join to this cluster, run the following:
microk8s join 10.0.0.0:25000/TOKEN/TOKEN

... SNIP

If the node you are adding is not reachable through the default interface you can use one of the following:
microk8s join 10.0.0.0:25000/TOKEN/TOKEN
microk8s join 100.0.0.0:25000/TOKEN/TOKEN
microk8s join IPV6:25000/TOKEN/TOKEN

worker$ microk8s join 100.0.0.0 --worker
You do not want to use the default one because that is outside of Tailscale.
After that my worker joined the cluster and picked up calico and it's workloads. Pretty easy!
Post-Install
At this point I finally (at 10pm 😴) had a Kubernetes cluster finished! I installed ArgoCD, added my basic "app of apps", and everything was golden and worked!
JK, I had to deal with some MariaDB stuff and other horrible problems, but as you can see, it's working now and that's a story for another day. Thanks for reading!